The collection of relief panel Fabrika19 offers different patterns and variety of colors. Each pattern can be made in 9 colors and plain white for further coloring.
Decorating options of FabriKa19 panels are truly endless. The surface is already primed and can be painted any type of paint (oil-based, water-based, latex, acrylic, etc.). Decoration can be carried out before installation, and after applying painting on the wall.
With its seamless panels up to 3х10 meters you won’t have to put picture together, putty or paint the joints as when dealing with rolled bas-relief and texture wallcoverings but enjoy the whole ornament canvas without a single seam.


Using many techniques of coloring relief surfaces you can achieve a variety of creative effects: patina, marble, glaze and others. Some types of coloring can be done by yourself and some may require help of professionals to achieve better results.


First, let's consider some of the most common ways of decoration which are easy to do yourself without the help of professionals.
Before you begin decorating, glue the panels on adhesive for heavy non-woven wallpaper in accordance with the instructions (refer to installation of panels). You should start coloring panels at least 12 hours after installation to allow the adhesive to dry completely.
Attention! If you decide to paint the panels before installation, the gluing must be carried out after the complete drying of the layers of paint.
The first method - painting panel in one tone.
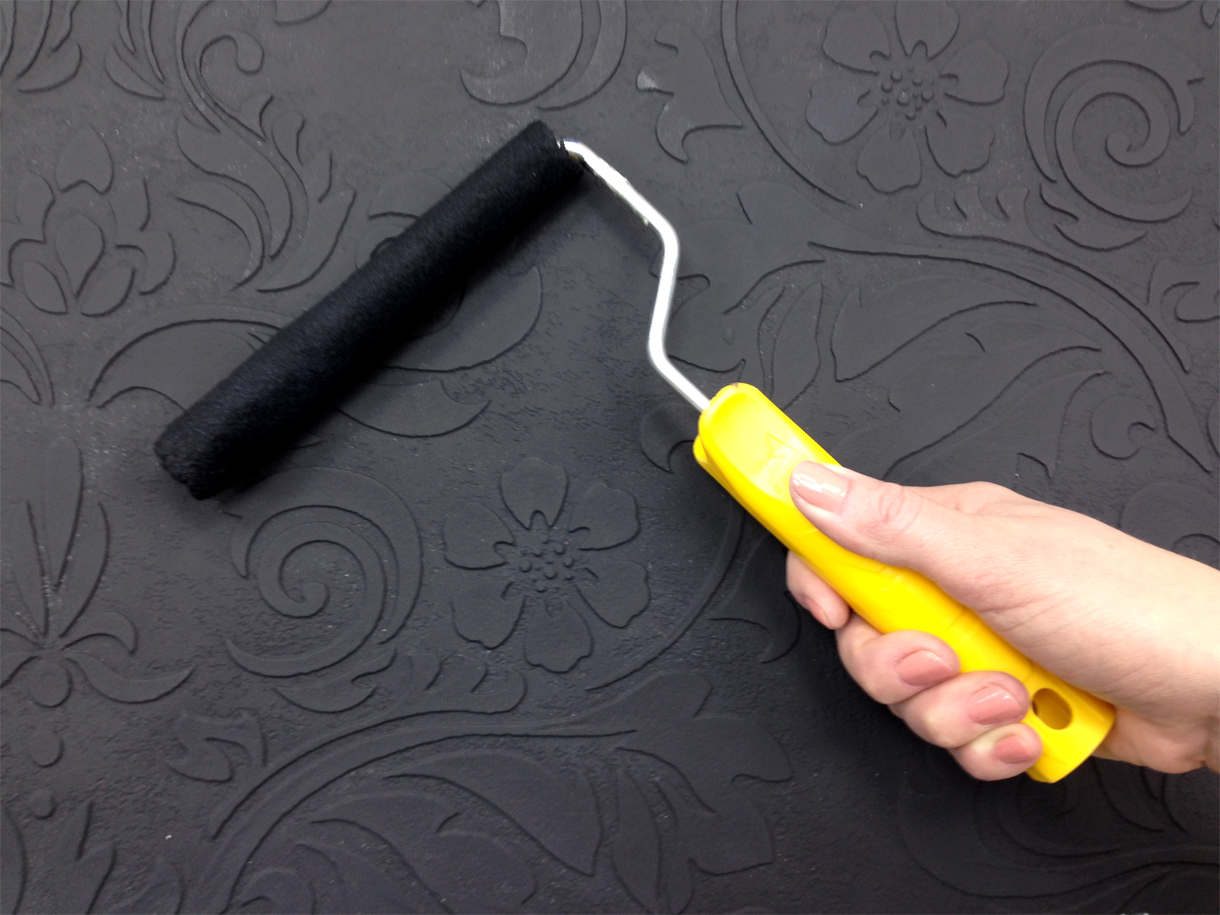
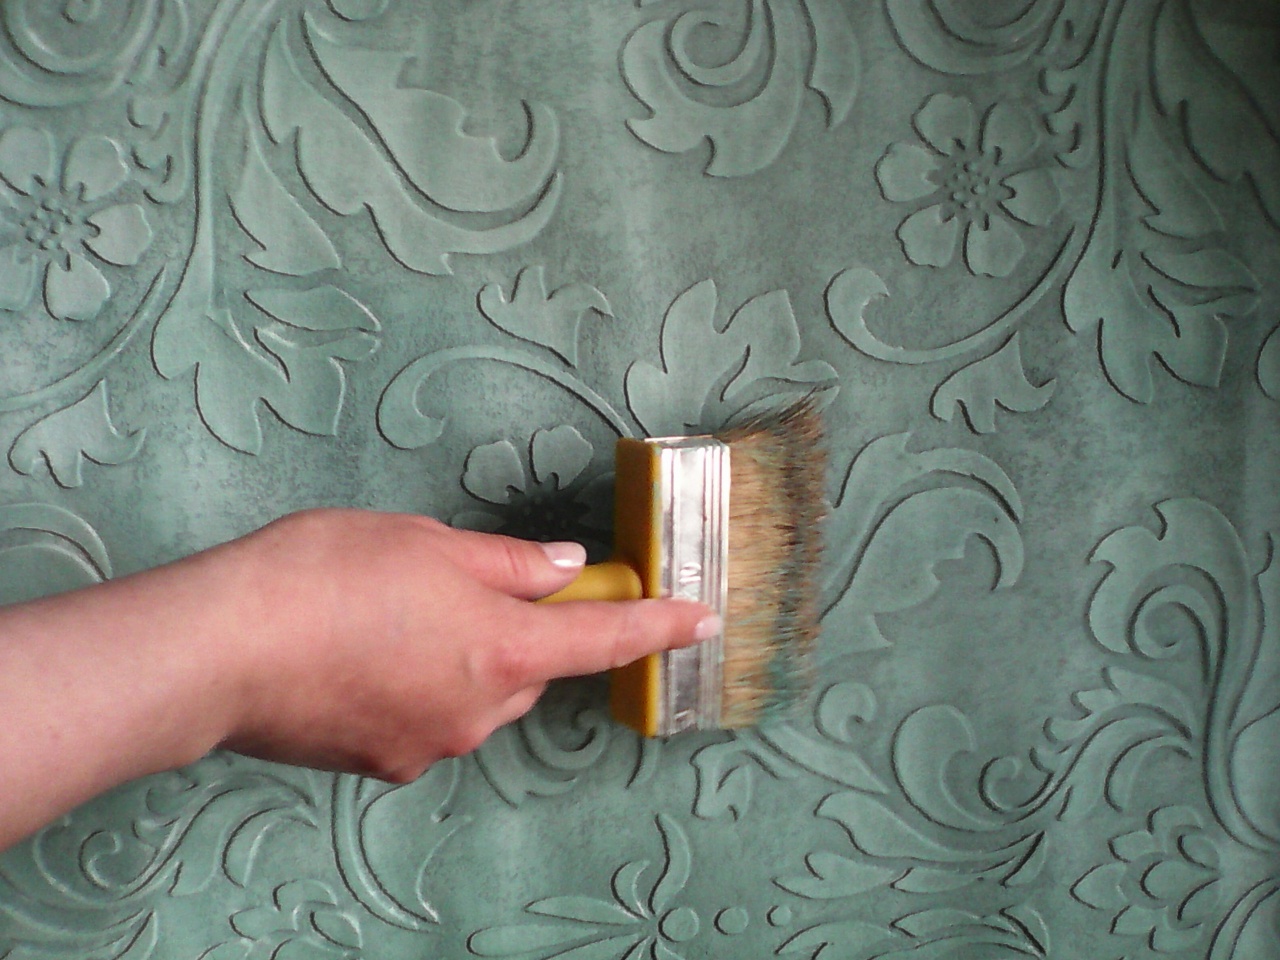
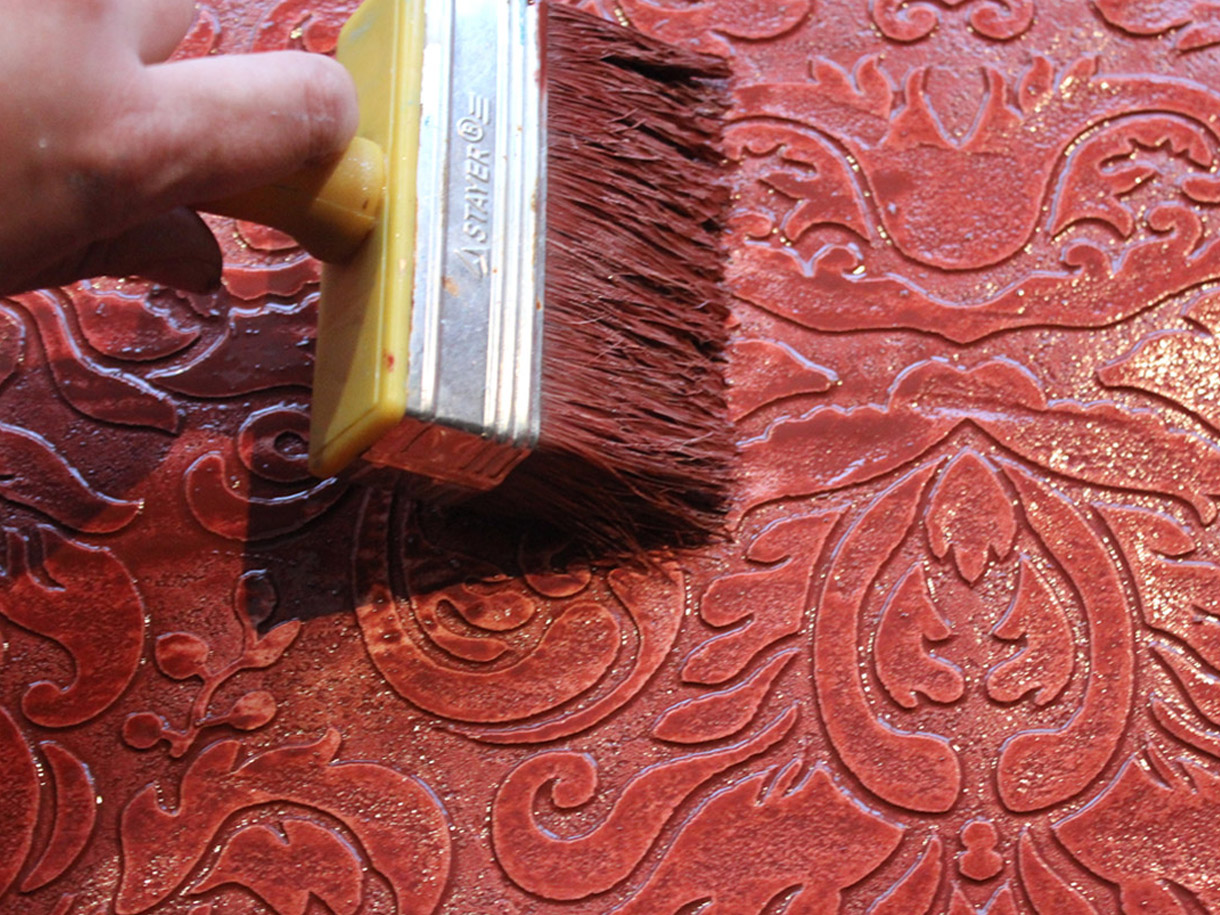
1. Apply a coat of paint using a wide brush or roller. The paint is applied from the top down, very carefully to all the irregularities of the relief (ridges and valleys).
2. Leave the coating for a few hours to complete the drying.
3. To obtain a more saturated color, apply the second layer on the top after 2-4 hours after the first.
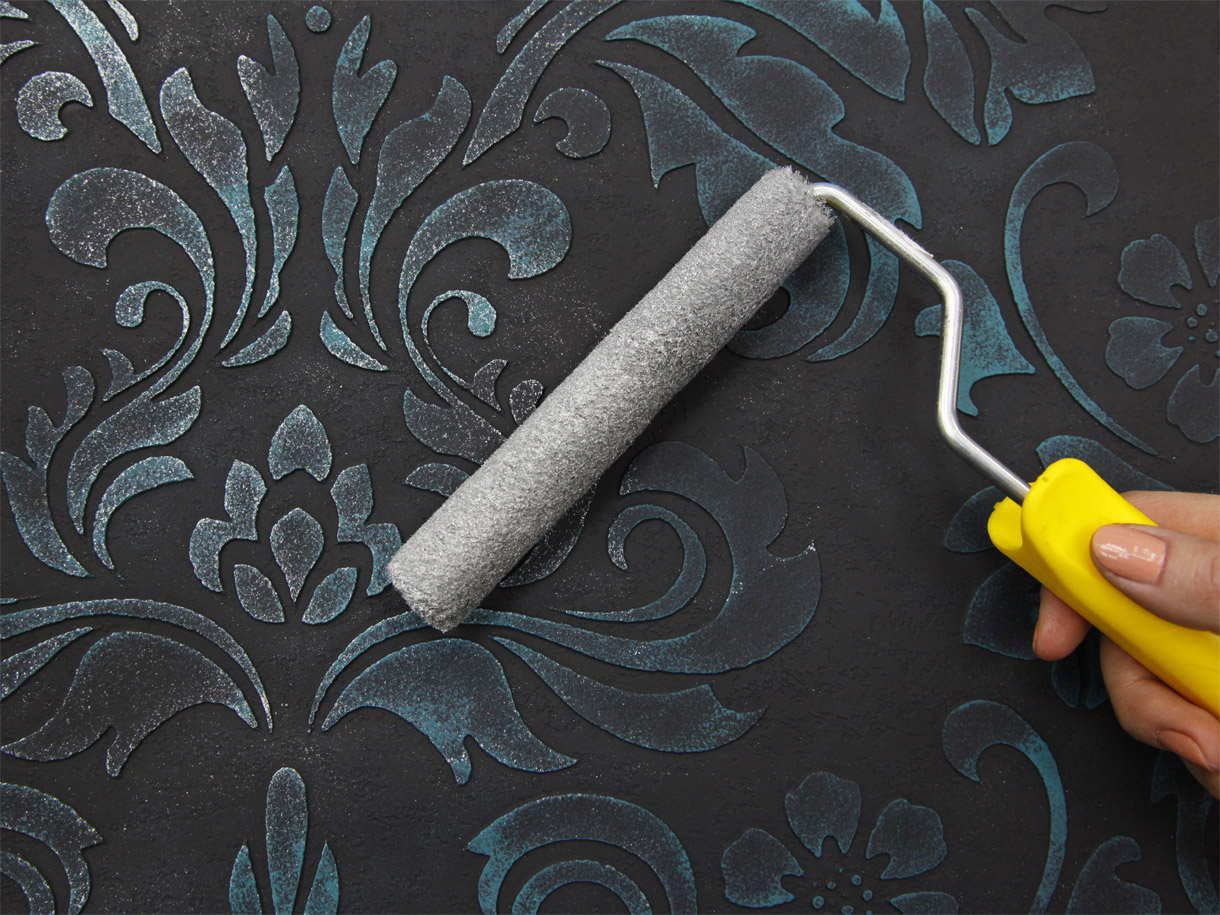
A more complex effect or so-called "relief painting" can be achieved applying paint of different color over projections of relief, usually a semitone or tone lighter or darker than the main one. Relief coloring technique gives the surface a large "volume". Let’s consider the case when the upper tone darker than the main color.


Use a simple sandpaper to get the effect of abrasion.

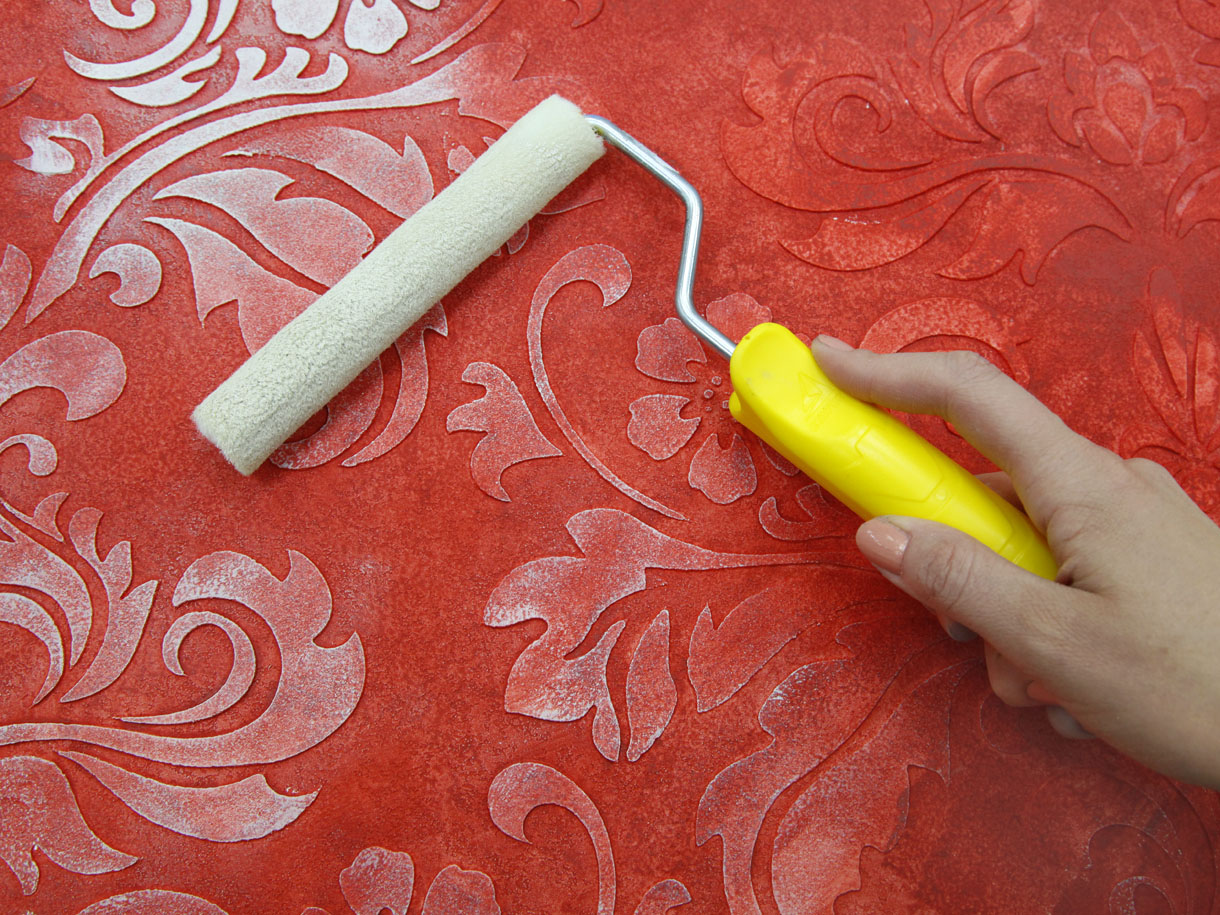
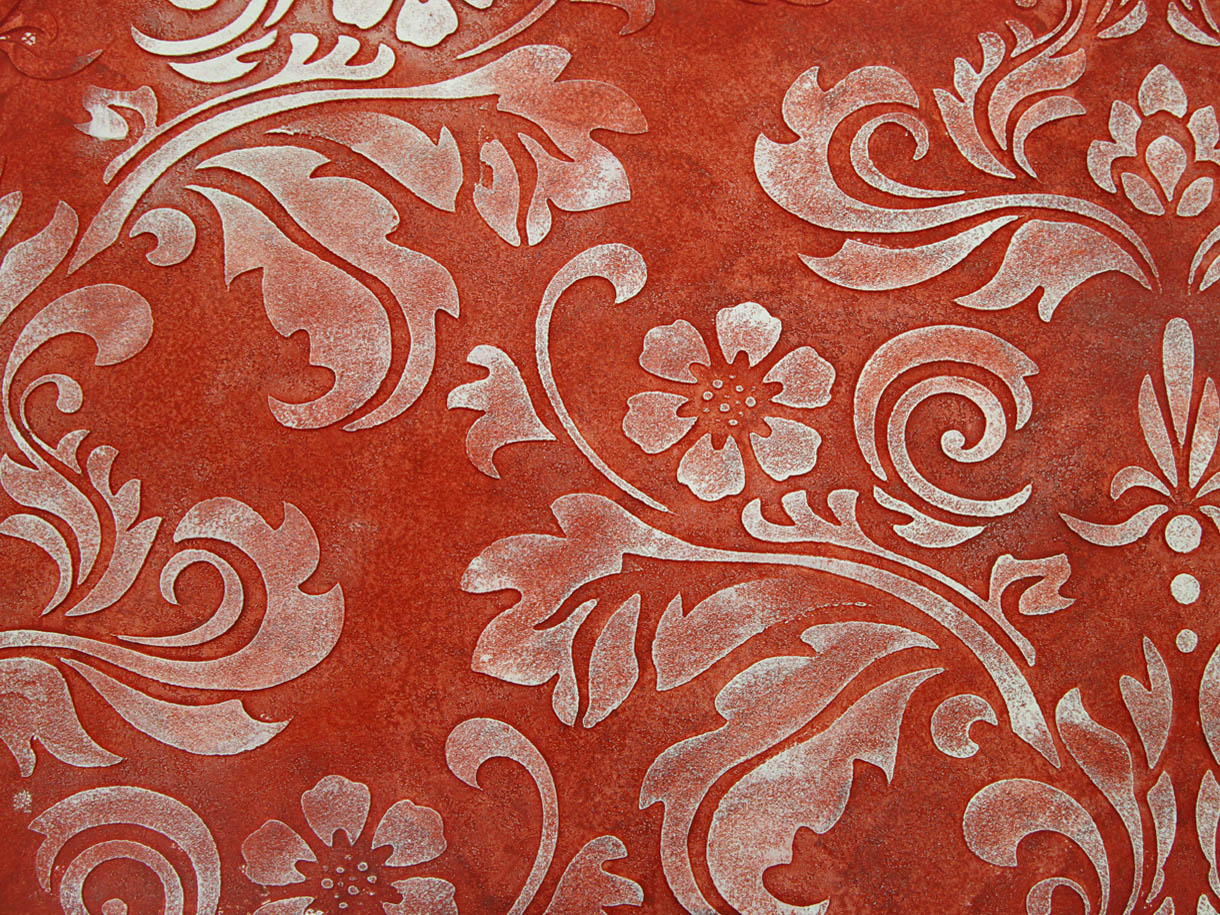
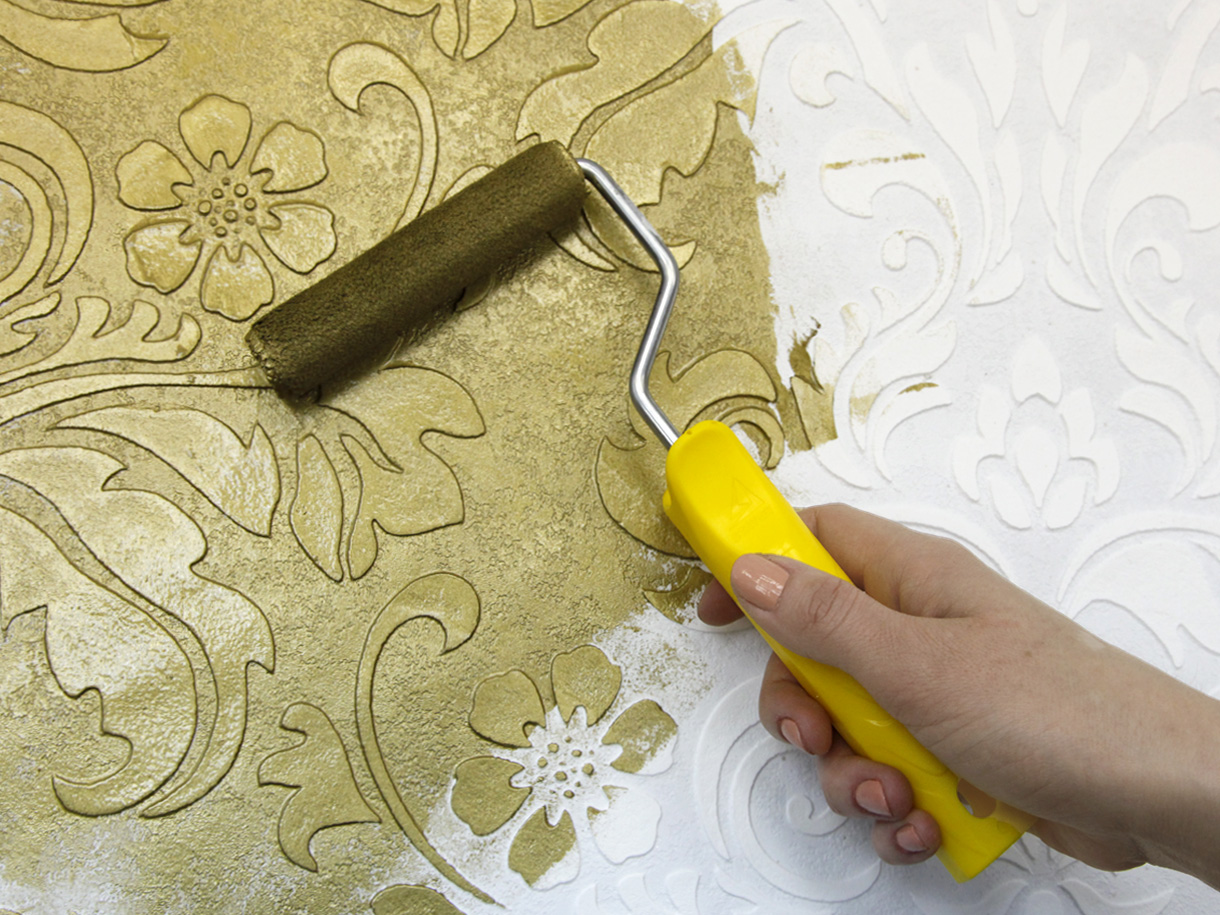
We can achieve completely different result by applying the upper tone lighter than the main one

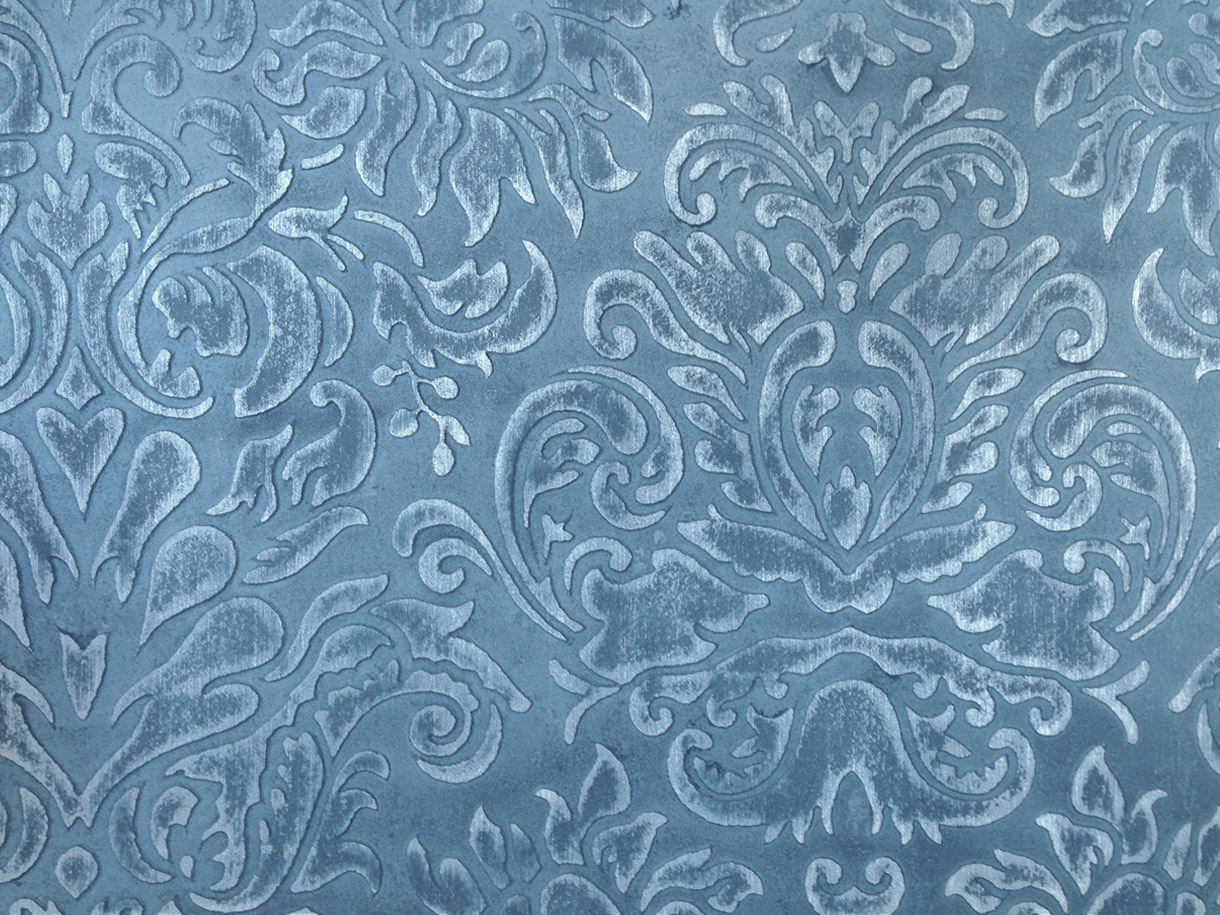
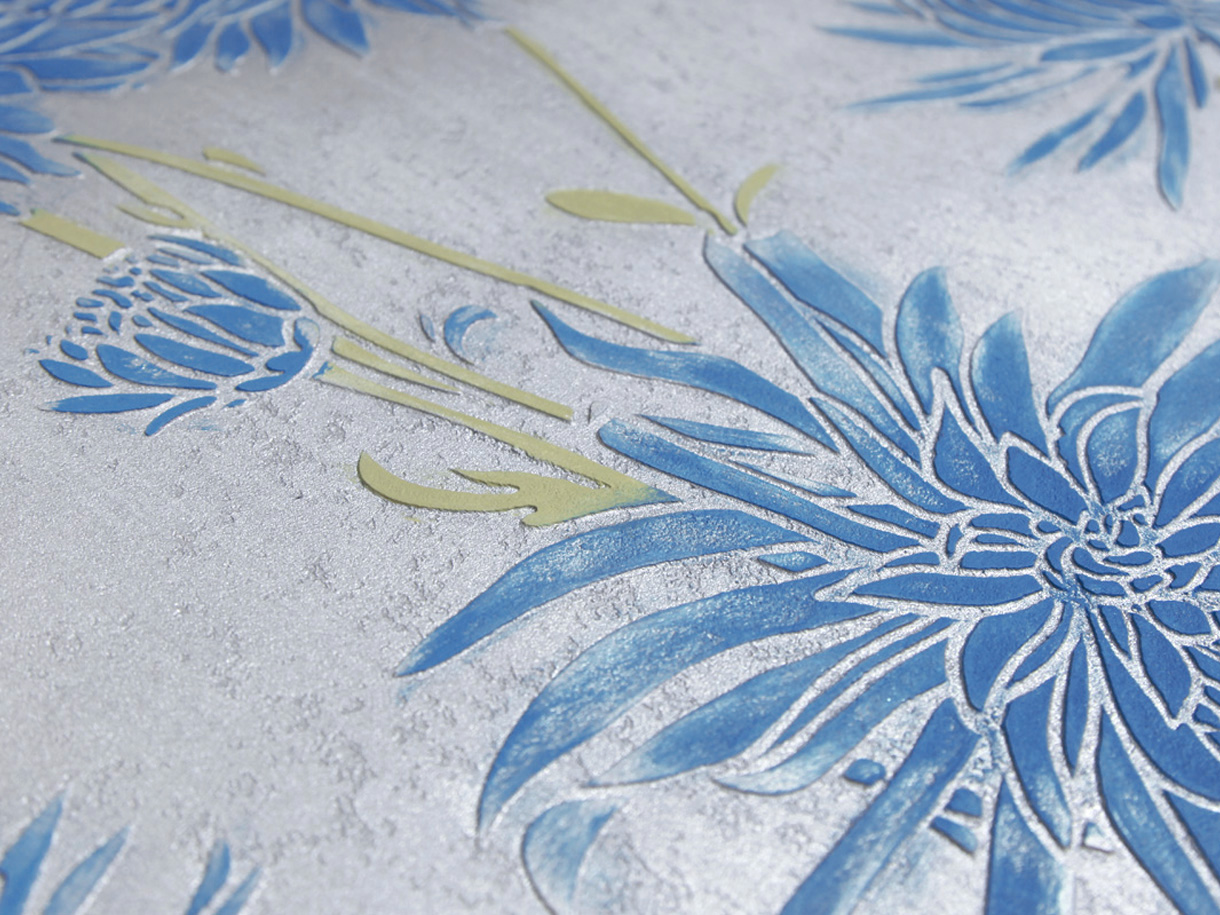
To give the relief more luxury and elegant look volumetric elements can be tinted with decorative metallics - colors such as bronze, silver and gold. This will accentuate the relief.

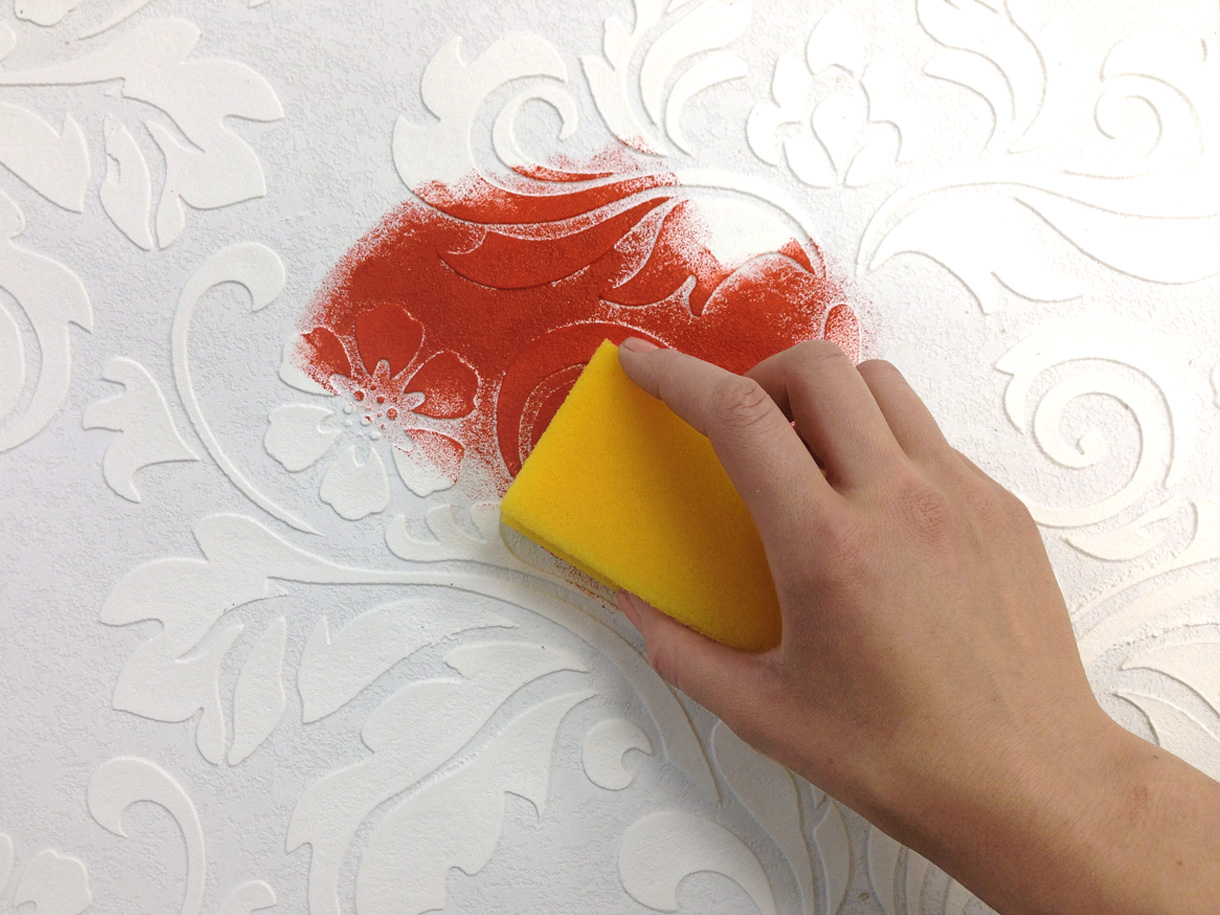
After painting the surface in one or two colors apply gold, silver or bronze paint with a sponge, a piece of cloth or a dry brush on the upper part of the relief.

You should barely touch the surface with metallic paint to achieve natural effect. Remember, the goal of appliance of bronze or gold is to slightly shade the base color, so this should not be applied too much.


This method can also be used when the base layer is matte paint and the top one is metallic so this way on volumetric parts of the ornament appear matte paint, and gold or silver paint is on the background of the relief.
PROFESSIONAL ART PAINTING
All the above techniques you can carry out yourself, but if you want to get better result, you should use services of professionals. Here are a few examples of how the pros decorate panel, turning it into true masterpiece. Typically, this is a multi-layer painting with a combination of several colors of paint and several coloring techniques. Some of them are listed below. Handmade production makes your panel luxurious and unique.
Option 1. Multi-layer painting in glaze technique.


Used paint: emulsion paint for a base and acrylic for decorating.
Tools: brushes of different sizes, sponges.
Option 2. Multi-layer "dry brush" coloring technique with patina effect.


Used paint: emulsion paint for a base and acrylic for decorating.
Tools: brushes of different sizes, sponges.
Option 3. The three-layer coloring with mother of pearl.


Used paint: emulsion paint for a base and acrylic for decorating.
Tools: brushes of different sizes, sponges.
Option 4. The three-layer coloring with patina effect.


Used paint: emulsion paint for a base and acrylic for decorating.
Tools: brushes of different sizes, sponges.
Option 5. Multilayer coloring with gilding.


Used paint: emulsion paint for a base and acrylic for decorating.
Tools: brushes of different sizes, sponges.
Option 6. The three layers painting on metallic background.


Used paint: emulsion paint for a base and acrylic for decorating.
Tools: brushes of different sizes, sponges.
Prices for decoration.
|
Two-layers |
Applying one color with highlighting some elements with patina or gilding effect |
From .. sq.м. |
|
Three-layers |
Difficult background with glazing and accentuation of elements with patina or gilding effect |
From .. sq.m. |
|
Multi-layers |
More than 3 layers of paint, difficult background with glazing and patina or gilding effect |
From .. sq.m. |
|
Sample 50х70 sm |
Using client’s materials |
./piece. |
| Base layer paint should be paid by client. Décor paints (gold, silver, patina, mother of pearl etc.) included in the price | ||